August tiny projects challenge: Day 2
Today I focused on my cluttered computer desktop. I don’t tend to see my desktop—it’s hiding behind the many windows I always have open on my Mac. The only time my cluttered desktop bugs me is when it gets so full it fills the entire desktop on my big external monitor and starts slopping over to my laptop monitor. That happened a little while ago, so I decided to address it in as a tiny project.
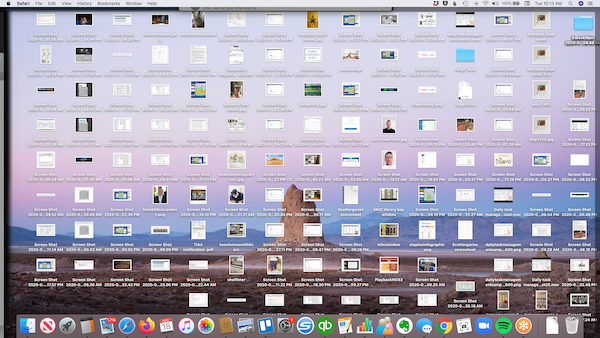
The desktop is the default place for me to save screenshots. I take a ton of them without ever bothering to go back and delete them. Clearly I could use some habit change here.
This project actually took me 40 minutes so it wasn’t so tiny. But it could have been worse. I accidentally discovered a time-saving feature at the beginning of the session that made this a lot easier.
But, first, an embarrassing photo of my cluttered computer desktop this morning. (I revealed the desktop in order address it without having to close all my windows by clicking Command F3.)

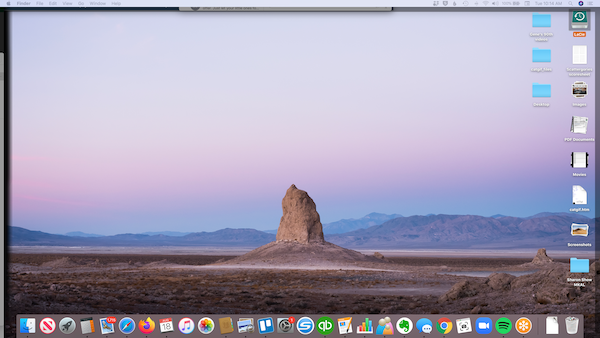
The miracle shortcut that made this so easy is found under the View menu in the Finder. It’s called Use Stacks. I clicked it just to see what it would do and was amazed that it cleaned up my desktop by putting all the loose files together in stacks of categories, like Screenshots, Movies, PDFs, and Images. When you click on a stack, the individual files appear.
Thanks to Use Stacks, before I even started decluttering, suddenly my desktop looked like this:

It felt like a miracle. I could have stopped there. But I knew I wanted to actually get the excess out. So I spent some time refiling some of the documents and pictures I wanted to save and deleting the rest. This was a bit of a tedious process that I know I can avoid in the future by not letting them pile up. With like items together—particularly all the screenshots—it was much easier to identify the items I wanted to file and those I wanted to delete.
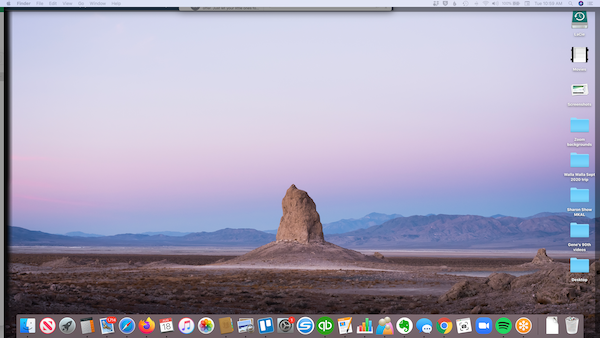
So 40 minutes after I started this is what my desktop looked like. I’m decided to stick with Use Stacks mode and I’m happy there are very few items in those stacks.

The result of this 40 minutes is some visual peace of my desktop and a resolve to do several things so my desktop doesn’t get so out of control:
- Delete screenshots I know I no longer need
- Resist the urge to let store items on the desktop rather than filing them
- Employ Use Stacks to keep my desktop tidy
I’m glad I did this, even though it took a little longer than I expected, because I am now so much better equipped to avoid this problem in the future!
Watch out for another tiny project tomorrow!
Tagged with: 15 minutes, computer desktop, organizing, tiny projects
Comments
Links
- Organize Your Family History
- NAPO St. Louis
- Shannon Wilkinson, life coach
- Are you interested in becoming a professional organizer?
- Ravelry
- Peace of Mind Spending
- Institute for Challenging Disorganization
- Getting to Good Enough podcast
- National Association of Productivity and Organizing Professionals


