Flash BOGO sale on Organizing Guides!
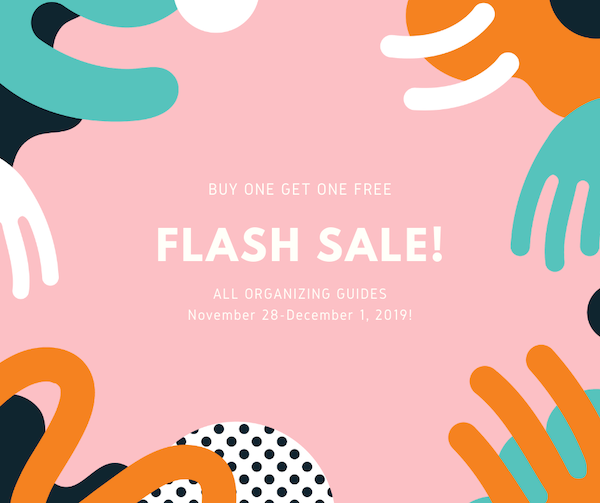
Because I’m grateful for you, I’m offering a flash sale this Thanksgiving weekend on my Organizing Guides.
Use the promo code TURKEY to get a free guide when you buy one at the regular price of $9. (To buy more than one pair of guides with the discount, make each pair a separate transaction.)
The promo code works for both my Organizing Guides (eight to choose from) and my Insider’s Guides for New Organizers (there are five of them). And you can mix and match them. It expires at 12:01 am central time on December 2.
Thanksgiving gratitude + a new gratitude practice

Every year around Thanksgiving, like so many other Americans, I reflect on the many things I have to be grateful for.
I’ve had a sporadic gratitude-journal or gratitude-email practice over the years and I know how beneficial it can be to take some time every day to reflect and feel grateful. Over the past year or so I’ve taken up hand-lettering so I decided this week to try to start a gratitude journal that I could use as a practice for my hand lettering. It doesn’t have to be perfect, by any means, but it will allow me to practice my skills and, of course, give me the benefit of expressing gratitude. I’m hopeful that my daily gratitude practice will stick because I know how beneficial it can be for me. I need to strategize about making it easy—perhaps I’ll link it to my bedtime routine.
In years past, I’ve posted some of Thanksgiving gratitude posts and I thought I’d do another this year. I’ve handwritten these items in my gratitude journal as well.
This year I’m grateful for:
- My good health and that of my family
- My close relationship with my 89-year-old father, even though we live a couple thousand miles apart
- My wonderful clients
- My wonderful team members
- My great friends and colleagues in the organizing community
- Yoga with Adriene
- The bonding experience that the Whitman College Men’s Basketball season brings my family
- Our delightful 70-pound poodle, Bix
- I’m almost finished writing my fourth novel-in-a-month
- My genealogy blog and the genealogy community surrounding it
- The freedom I have in my life to spend my time in ways that fulfill me
That’s it for this year. If you’re celebrating Thanksgiving, I wish you a warm and wonderful holiday full of gratitude and good eats.
Worth repeating: The Life-Changing Magic of Tidying Up: A Review (part one)
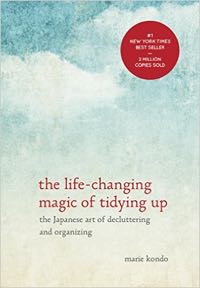
Marie Kondo is back in the news, having launched a store on her website that sells her favorite things. I don’t want to go into the seeming incongruity of that. But it seems like a good time to re-run my 2015 review of the book that launched her success. You might also be interested in this post, where I describe trying out her system and this review of her Netflix show, which I did enjoy.
Have you read The Life-Changing Magic of Tidying Up: The Japanese Art of Decluttering and Organizing by Marie Kondo? She’s the Japanese “tidying consultant” whose book has sold over 2 million copies worldwide.
I initially resisted reading it because I was irked by all the attention it had garnered. (It has received loads of media attention, as well as bestseller status.) But a couple of people mentioned that the advice in the book echoed much of what I write about, so I thought I’d better check it out. I was also intrigued by how it seemed to really prompt people to take action.
I bristled as I read the first couple of chapters, because the author spoke in absolutes with a “my way or the highway” attitude. She basically said that if you follow her method you will succeed and never backslide. And if you deviate from her method you’re pretty much doomed to failure.
My clients know that I don’t speak in such absolutes and that I’m all for custom, not cookie-cutter, solutions.
But I kept reading. And as I read, I found myself nodding along at many of her ideas. I’m not necessarily thrilled with the directive way they’re expressed (which could be attributed to culture differences or simply the translation), but I saw truth in much of what she wrote. For example:
- Keep only those things that spark joy
- Decide what to keep, not what to let go of
- Let go of excess in order to cherish those items that are important to you
- Don’t start organizing until after you’ve decluttered
- Keep storage solutions excruciatingly simple
She and I deviate on a few points as well. For example, I don’t agree with these points:
- There’s one right way to do things—the organizing method should not be changed to suit the person using it
- You should aim for perfection
- It’s a bad idea to declutter a little at a time
- Storage experts are hoarders
I also felt like some of her advice, while viable for her clients living in small spaces in Japan, might not be realistic for many of my clients’ larger homes. For example, she advocates storing all like items in one area, not spreading them throughout the house. In a 5,000 square foot home, it doesn’t make much sense to me to have all your pens, for example, in one desk.
All that aside, there’s one thing I can say for this book: It does spark action. I read it on an airplane and was itching to get home to do some decluttering as soon as I finished it. I’m looking forward to trying out some of her methods, and even exploring her uber-simple paper organizing method (papers to be acted on and papers to be saved; the latter is divided into two subcategories, infrequently used papers and more frequently used papers). She made me want to discard all the old seminar notes that are cluttering up my bookshelf—because it’s true; I never look at them.
And I can’t wait to try out her signature question, “Does this item spark joy?” during the decluttering process in my own home. I’m back from my trip and today I’m going to give Marie Kondo’s advice (which she has named “the KonMarie Method”) a shot. My home is in need of some decluttering attention, so it’s the perfect chance to give it a try.
I’ll blog about the results on Thursday!
Be careful with Full Adhesive Post-it® Notes
I love 3M’s Full Adhesive Post-it® Notes. One of the reasons I love them is that they stick well to plastic bins and lay flat. In addition to being Full Adhesive, they are Super Sticky.
However, I had a mishap with the the Full Adhesive Notes the other day that prompts to issue you a warning to be careful when you use them. I stuck a note on door of a client’s bathroom and later in the day, when it was no longer needed, I plucked it off. The door was partly open and I did it an angle. To my horror, some of the door’s paint came off with the note. I snapped a picture as a cautionary note for others.
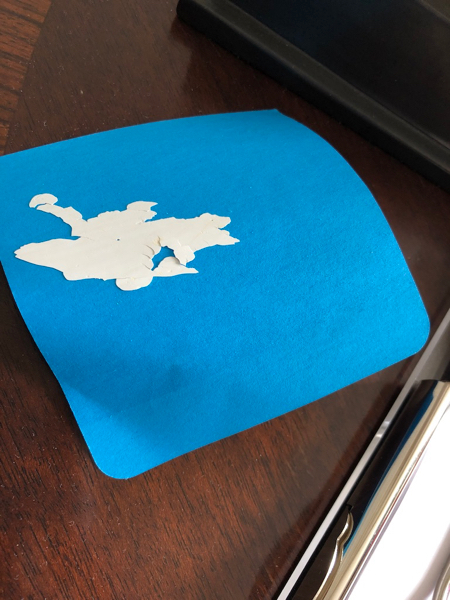
Thankfully, the client is moving and the home will be repainted, so she wasn’t as upset as I was.
I’ll continue to use these notes, but I will more selective where I put them and very careful when I remove them. Just wanted to share in hopes that it will save you the same mishap!
Worth repeating: Why decluttering is so important
I was browsing my blog this morning and came across this post I published in 2016. I’m always amazed at how I have no recollection or writing, or having written, so many of my posts. But I guess that’s to be expected with well over a thousand posts. This one really struck a chord with me today and I thought I’d put it out there again. I hope it strikes a cord with you too.
I met with a client recently who explained all the storage solutions she and her husband had attempted in an effort to create order. They have three kids and a small house and it felt to them like their home was bursting at the seams. Yet their storage solutions hadn’t solved the problem.
My comment to her was that one way to get things to fit better into their home was to have fewer belongings.
Decluttering is an important first step in the organizing process.
Decluttering should be embraced, not skipped, because when you let go of those items that don’t serve you, it is so much easier to organize what remains.
I was reading some old blog posts this morning and came across one from eight years ago in which I detailed some organizing projects in my own home. My 2016 self started twitching when I read this sentence, “Last weekend, I started doing some shifting of closet contents in order to help alleviate some clothes storage problems.” No, I thought! Don’t shift things around. Get rid of things! I know that in 2008 I had a lot more clothes than I have now. And I know I still have more than I need.
When we own fewer items we have less to manage. When we distill our items down to those things that we use and love, then we can easily find what we need and put it away. I’ve said it before and I’ll say it again:
Life is easier when you have less stuff.
Next time you have the itch to organize, see how much you can let go of before you start the actual organizing. Don’t move things around, move things out. Resist the temptation to buy organizing supplies or storage solutions before you declutter.
If you declutter prior to organizing, you set yourself up for success. When you have fewer items to organize (and manage), everything becomes easier.
Worth repeating (again): Feel like writing a novel?

I first wrote this post on October 29, 2009, when I was about to embark on my second attempt to write a novel in a month as part of National Novel Writing Month. I repeated it on October 31, 2014, when I wrote a third novel. It’s clearly a pattern that every five years I write a novel (none of which have barely been re-read, let alone published), so I’m gearing up for my fourth attempt, starting next week.
If you’re intrigued by the prospect, I encourage you to listen to Episode 72 of our podcast, Getting to Good Enough, in which Shannon and I discuss how we’ll both be writing a novel this year. We’re inviting listeners to join us and discuss the process on the Getting to Good Enough Facebook Group where we hope to provide mutual support. Please join us! This is a fun challenge and I’m really looking forward to it!
National Novel Writing Month is about to start and I’m on board. NaNoWriMo is a worldwide event where people commit to writing a 50,000-word novel during the month of November. (As a point of reference, Catcher in the Rye is about 50,000 words.)
I did it back in 2004, just to see if I could. That year, I wasn’t part of the online community, because I didn’t do it until December. But this year, I’m chomping at the bit to start on November 1 like everybody else.
Why am I doing it? It’s not for that challenge, since I know I can do it. This year, I just think writing a novel sounds like fun. And if I can get a crappy first draft written in November, I’ll have something to work with.
I’ve been on a binge of reading books by Jeffery Deaver. I love his books, which have great plots, great characters and are written in a clear, non-self-conscious style. I think reading his books have made me want to write one of my own.
But why in a month? I love having a deadline like this. I love the accountability. I love that by month’s end my novel will have an end. I love having a daily writing quota and knowing I’ve achieved my goal for the day.
I’ll have a victory on a daily basis. It’s a great example of breaking a big project down into small tasks and working at it on daily. It’s a great use of Mark Forster’s concept of little and often.
When I wrote my first novel (which, incidentally, I’ve read only once), I wore a special hat and wrote in a room where I didn’t usually write. (At the time, I was a professional writer.) This time, I’m knitting a special scarf that I plan to wear when I’m working on my novel, just to put me in the mood. I intend to write early in the morning, first thing, even if it means getting up extra early. I haven’t decided where I’ll do the writing, but chances are good it’ll be at my desk.
You can expect some updates here through the month of November. If you’ve signed up for NaNoWriMo, leave me a comment or an email and let me know your registered name on the site. (I’m janinea.) I’ll make you my writing buddy!
Decluttering my {knitting} WIPs
In knitting, WIP stands for Work-In-Progress. In my knitting reality, almost all my WIPS are actually stalled and/or abandoned projects. They languish in (mostly hand knit) bags in my knitting area creating clutter and a little bit of stress. That area was like a graveyard for knitting dreams.
But then I came across the book Untangled: A step-by-step guide to joy and success for the modern yarn lover by Shelley Brander. Untangled and its chapter The WIP-It Challenge inspired me to go through and declutter all those bags.
It took the better part of a Sunday and it was so liberating! Here’s how I did it.
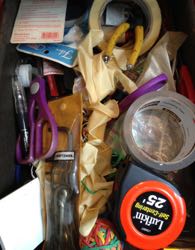
I gathered up all those bags. Here’s a photo of them—I had no idea there were so many.

I ended up taking them to the dining room table and where the light was good, I went through them one by one. I started a little spreadsheet of each project, what yarns and needles it called for, the progress I’d made and what I wanted to do with it.
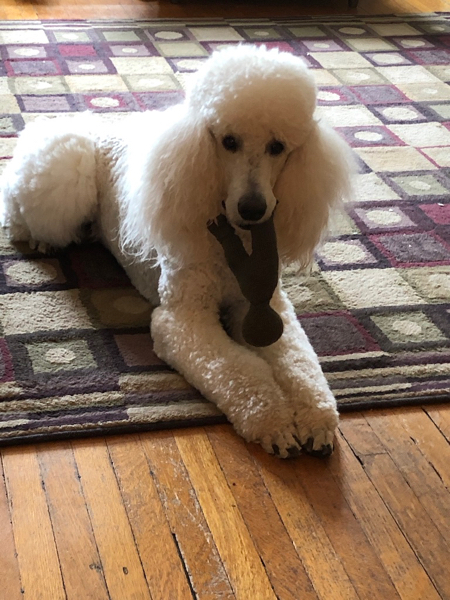
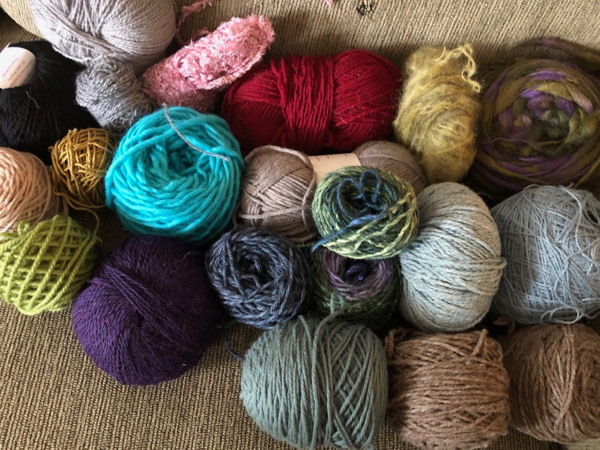
In all, I counted 15 WIPs. I let go of six of them, five of which I took off the needles and unraveled the yarn. That felt so good because that beautiful yarn got a new life, instead of being cooped up in a bag. I have a ball winder, so I had some very satisfying time winding all that yarn into neat balls. (See the picture below of the yarn I reclaimed in this project.) One of the abandoned projects was a toy I’d started making as a baby gift five years ago. I’d knit the component parts but before seaming them together, I realized that it wasn’t cute enough to give to the baby. I put it away thinking I’d finish it some day, I guess. Instead, I threw away all but the body and gave the body to my standard poodle, Bix, who thinks it’s a great toy.
Here’s a photo of Bix with the toy. He doesn’t care that it’s a reject. (In case you’re wondering, the finished toy was supposed to be Yoda.)
Here’s the reclaimed yarn! The photo doesn’t include the yarn that doesn’t thrill me, which I’d set aside to give to friends.
Of the remaining WIPs, four were fingerless gloves or mittens, with one finished. (There was also a pair of yoga socks with one completed.) I decided to hang on to those and finish them. There was a hat whose yarn I purchased to make a gift. I unraveled it and will start again. And there was a sweater whose yarn and pattern I had bought but had not actually starting knitting. I had completely forgotten about it (it’s very cool). So I’m going to evaluate the pattern and see if there was a reason I walked away from it.
One of the projects, was so close to being completed. It just had a tiny bit of seaming left to do. It was a striped cowl that I literally worked on for years. But when it didn’t end up as expected during construction, I walked away from it. But in the weeks after the big declutter, I actually finished it and now I have a cozy-warm cowl I can wear.
This process was absolutely rejuvenating. Not only did I get rid of a bunch of unsightly clutter, I let go of projects that were weighing me down, even if I didn’t realize it. I liberated yarn and needles to use in other projects. And I got excited about knitting again.
The day after this exercise, my co-host Shannon Wilkinson and I recorded an episode of our podcast, Getting to Good Enough, called Restarting that was all about this little adventure. If you’re interested in any more details of the knitting-project decluttering and its implications, please give it a listen!
About Janine

Hello! I’m Janine Adams — a certified professional organizer based in St. Louis, and the creator of Peace of Mind Organizing®.
I love order, harmony + beauty, but I believe that the way that you feel about yourself and your home is what truly matters.
If you’re ready to declutter with a purpose and add more ease to your life, you’ve found the right blog — and you’ve found the right company.
read more »Links
- Peace of Mind Spending
- Are you interested in becoming a professional organizer?
- National Association of Productivity and Organizing Professionals
- Getting to Good Enough podcast
- Institute for Challenging Disorganization
- Ravelry
- Shannon Wilkinson, life coach
- NAPO St. Louis
- Organize Your Family History