Join me for 30 days of yoga!
I’m a HUGE fan of Adriene Mishler’s Yoga with Adriene YouTube channel. Encouraged by my niece back in late 2018, I’ve been doing yoga semi-regularly (I went more than a year without missing a day!) and one of my goals for 2022 is to weave yoga into my daily routine so that daily yoga becomes effortless. (You can read Nine Things I Love About Yoga with Adriene if you’d like to learn more.)
Adriene makes it really easy to start a new year off with a daily yoga practice by offering a new 30-Day Yoga Journey every January. This is the eighth year in a row she’s offered it and I am eager for it to start. This will be my fourth or fifth 30-day journey. One of the things I love about it, besides it taking away the dilemma of which yoga video to do today, is that it’s intended for participants of all experience levels and it’s carefully curated, with fresh content that builds on itself.
To sign up, just go to the Move website. The whole experience is free. You’ll receive an email each day with the link to that day’s video. And you’ll be doing yoga with hundreds of thousands of people. What a community!
If you plan to participate, I’d love to hear about it in the comments!
Great advice from organizers (including me!) in Porch.com + Secrets of Getting Organized
In case you’d like to hunker in this holiday week and read some great organizing advice from professionals, I wanted to share a couple of resources that I was included in. These are both outlets I’ve been featured in more than once and it’s always nice to be asked back!
First it’s, Tips for Starting 2022 Clutter-Free: The Experts Advice, an article on Porch.com. I’m one of more than a dozen professional organizers offering advice in various areas. (I was also part of their Home Organization: Tips from Professional Organizers roundup in November 2020.)
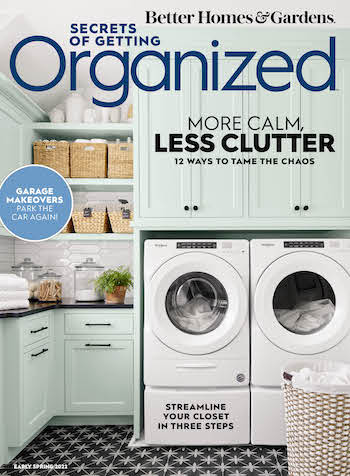
In addition, I received in the mail yesterday the most recent issue of Secrets of Getting Organized magazine from Better Homes and Gardens. This is the fifth year in a row I’ve been interviewed for this glossy magazine. (It’s such an honor to be included among my esteemed colleagues.) And it’s a really enjoyable magazine to read. There are no ads, the advice is terrific and the photos are absolute eye candy. It’s available wherever you buy magazines (or online at magazine.store) until March 10, 2022. That’s a picture of the cover at the top of this post.
Now’s a great time to read about getting organized. I hope you’ll check these resources out!
December tiny projects challenge: Day 5
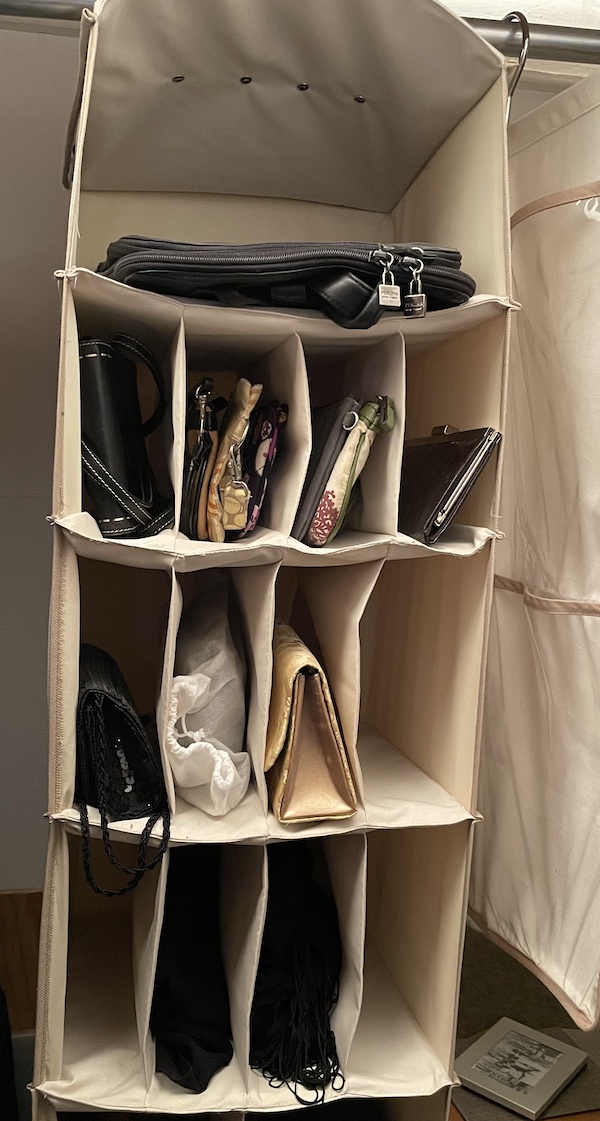
After a weekend off, I took on a truly tiny project today: My evening bags. I store the few fancy dresses I own plus my evening bags and shawls in the guest-room closet. Last Friday when I put away all the little wristlets that I had been taking up space in the household desk, I noticed that I have a large collection of evening bags, which is puzzling since I’ve attended probably two fancy events in the past 15 years (both were weddings).
I had put the wristlets in a Kangaroom hanging purse organizer (which, alas, is no longer for sale as far as I can tell), where I also store my evening bags. Here’s the before picture:
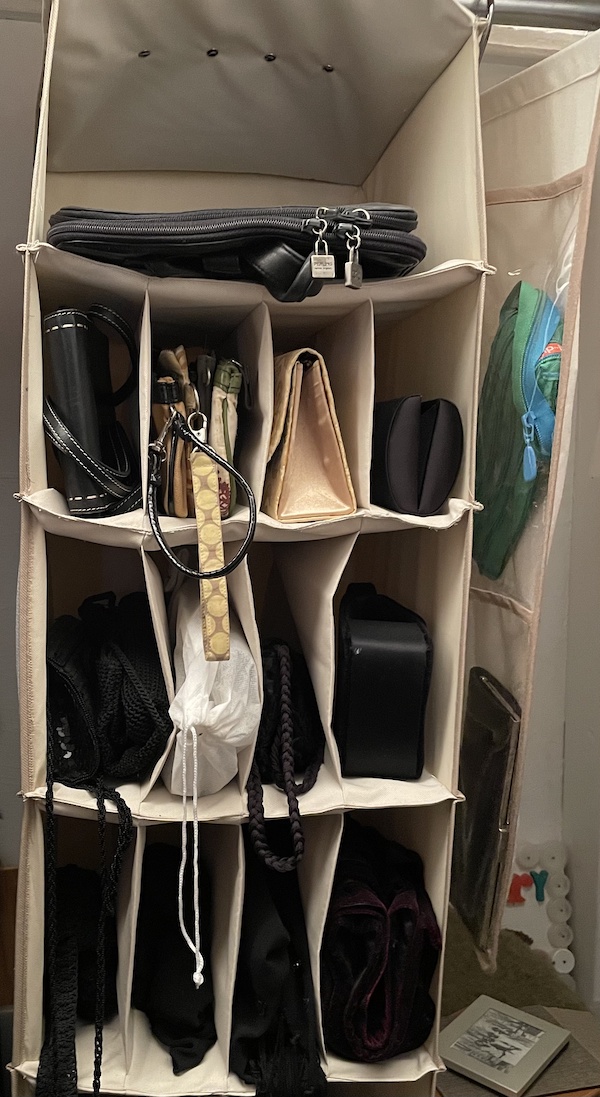
They were tidy enough, but excessive. And as I noted on Friday, I had room to let go of some of the wristlets too.
So I quickly went through them and pulled out evening bags that didn’t make my heart sing. I ended up keeping four (probably at least three more than I need). I also let go of four wristlets, keeping five.
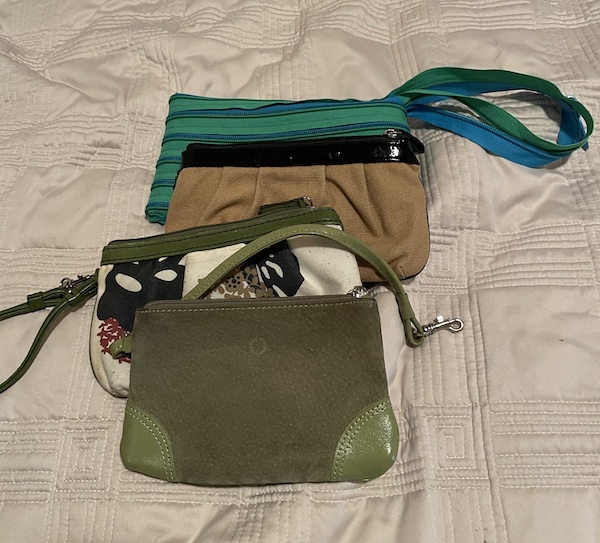
In addition to the evening bags, I let go of a velvet evening stole. (I kept two fancy shawls.) Here’s a picture of what I donated:
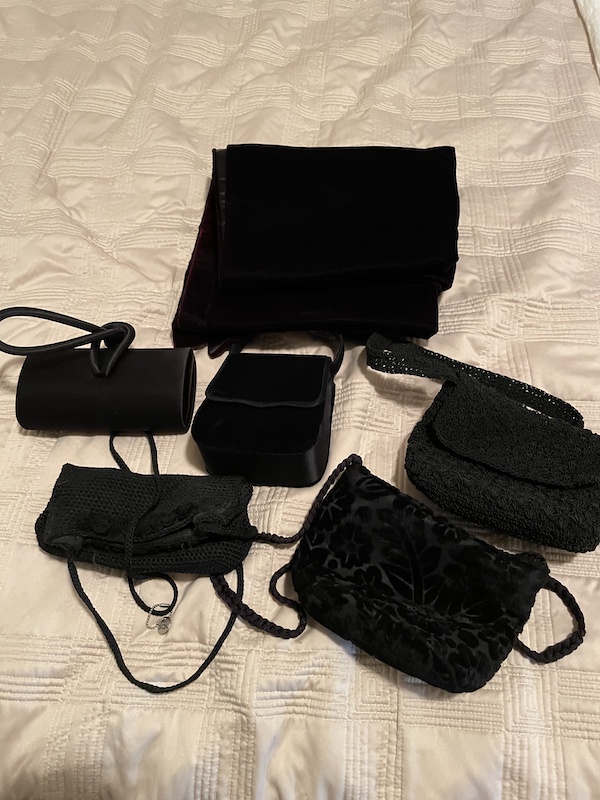
The purses are in excellent condition. It makes me happy to think of someone being able to use them.
And here are the wristlets I said goodbye to:
Finally, here’s the improved closet. Not a dramatic change, but I love that there is now white space there!
This entire tiny project literally took six minutes. It speaks to the power of grabbing little pockets of time when they’re available! I hope this series inspires you to look for tiny projects in your house!
December tiny projects challenge: Day 4
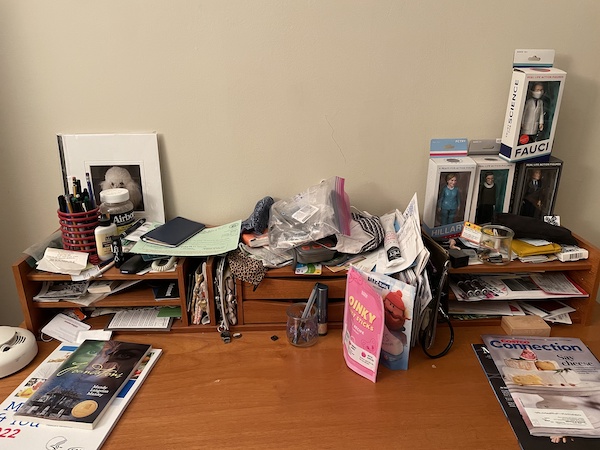
Today’s tiny project was the organizer on the desk in my home that I call the household desk. My husband and I each have home offices with desks, but this desk is in a central room in our living space and stuff definitely tends to accumulate there. This teak organizer is a clutter magnet (as such organizers often are).
So I decided to declutter and organize this little space, which I probably haven’t been done in a few years.
Here’s the before shot (please don’t judge):
I started with the top shelf on the left of the organizer and just worked my way through. I went through each shelf, slot and drawer, editing as much as possible. I threw away a number of old items (like business cards for contractors we didn’t choose and expired Airborne gummies). I relocated a number of things to my office, which helped a lot.
Here’s the after shot:
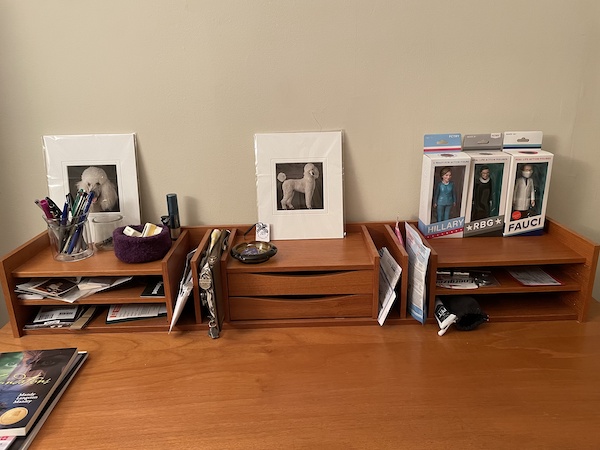
Probably the most helpful thing I thought of was to move the face masks that I would just toss on the organizer to a doorknob. There’s a door just to the left of the desk that opens in and almost always remains open. So I hung the masks by their earloops on the inside doorknob, where they’re accessible but unobtrusive. And since I’ll surely go to the desk for a mask, they will be nearby when I don’t find them where I’m looking for them.
Here are some of the other things I did that were easy to do and so effective in cleaning up this space:
- I moved the blood pressure cuff to my office, where I’m more likely to remember to use it.
- I put Bix’s clickers for dog training in a little felted wool bowl I’d knitted
- I tested all the pens and removed most of them, so I would have easier access to pens when I needed them. (The pen holder was too full!) And I used a glass I was going to donate as a pen holder rather than the less attractive red one I’d bought in the 90s.
- I moved one of my action figures (Robert Mueller) to my husband’s office, because there was obviously one too many action figures in that space.
- I gathered up my inordinately large collection of wristlets and wallets (from a ceaseless quest for a solution to carrying around my money) and moved them to a different space downstairs. I’ll probably donate a lot of them. (By the way, I found a wallet/small purse solution, which I’ll share in a future post.)
- Best of all, I got rid of the expired Bed, Bath and Beyond coupons, since they no longer accept expired coupons.
This one took longer than I expected—probably 40 minutes. But they were very pleasant minutes and I’m enjoying the results!
December tiny projects challenge: Day 3
Today’s tiny project challenge involved a built-in cabinet in our extra kitchen. Extra kitchen? My husband and I live in a 1908 home that was built as a two-family house. When we bought it in 1992, we lived upstairs and rented out the downstairs apartment. Then we moved to Brooklyn, New York, from 1997 to 2001 and rented out both units. When we returned, we elected to live in the whole home but we did minimal renovations. So we have two kitchens. This was very handy when we renovated our main kitchen (which is upstairs) in 2016.
Each kitchen has a built-in cupboard. We use the extra one for overflow pantry items, as well as for cookbooks and a few dishes. In our haste to put away groceries we tended to just shove stuff in the cabinet. So I decided to show it some love today.
Here’s the before picture:
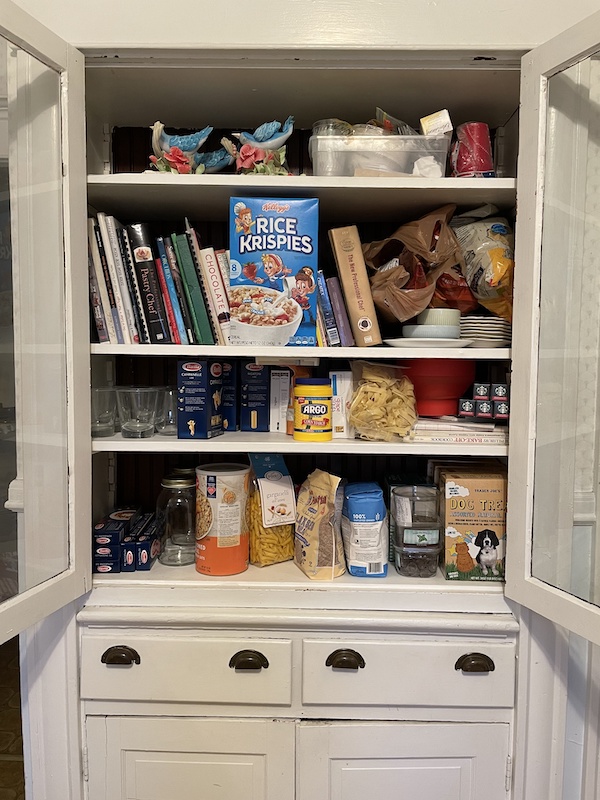
I pulled out the half-dozen drinking glasses we’d stashed in that cabinet. I’m confident I can get my husband to agree to donate them. I decided to move a few of the dishes upstairs. And I consolidated the cookbooks. That created some space on the shelves.
Then I pulled out some high-sodium packaged items that we will no longer use since Barry is now on a low-sodium diet. We currently have seven large cans of low-sodium tomatoes that needed to find a home in the cabinet, so that was very helpful. I took two bags of chips to the upstairs pantry. (I love chips.)
I had two large round boxes of old-fashioned oatmeal (one of which wouldn’t fit in the cabinet) because I eat Overnight Oats for breakfast most mornings. I keep a small container of oats upstairs and replenish it from the downstairs supply. I also have some overflow Overnight Oats ingredients in this cabinet.
I made the oatmeal situation more pleasing by decanting the oatmeal into some beautiful 1.5-liter Quattro Stagioni glass canning jars that I had purchased at the Container Store for dog food. I ended up using glass canisters for dog food instead but didn’t want to throw away these beautiful jars, so they were taking up space in the cabinet. This was a terrific solution.
It took no time to put like things together so that all pasta and tomatoes were together and baking supplies were together. On the top shelf, I tidied up the box of plastic tableware I keep there for lunch on the go.
Here’s the after picture:
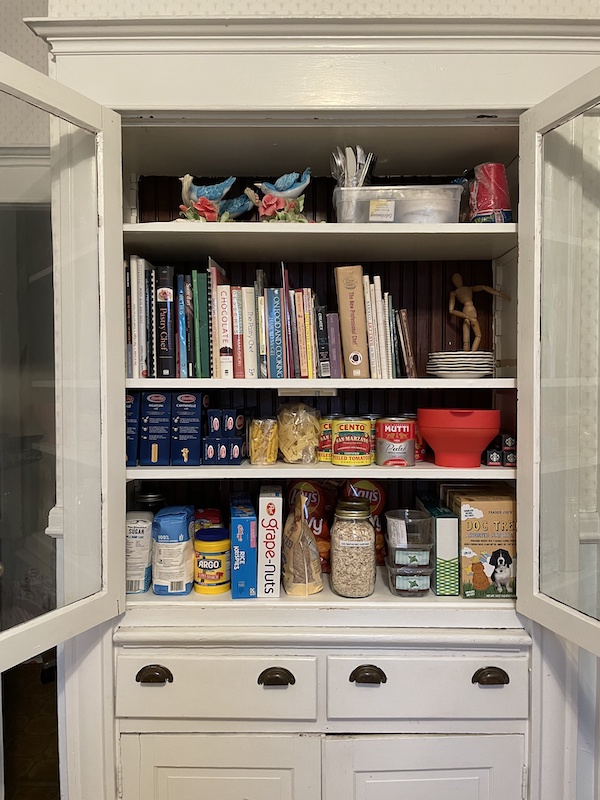
(There are two items you might be curious about, so I’ll mention them. The big red thing next to the tomatoes is a silicone microwave popcorn popper that totally rocks. And those birds on the top shelf are made of sugar and my husband, who is trained as a pastry chef, made them!)
The whole project took only about a half hour. That was time well spent—it’s going to have a big impact because that cabinet is now nicer to look at and will be much less annoying to use!
December tiny projects challenge: Day 2
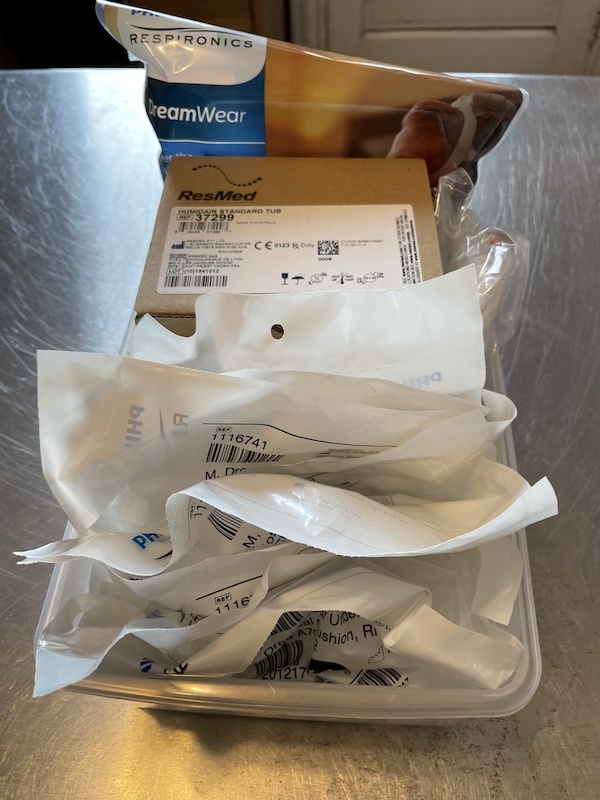
For today’s tiny project, I chose the CPAP supplies that my husband and I have accumulated, which had been messily stored under a desk in the cardboard boxes they came in. Barry and I both had sleep studies in 2021 and both were diagnosed with sleep apnea. So we now both use CPAP machines but different masks. (By the way, this is life-changing stuff. We both sleep better and neither of us snores!)
Periodically, CPAP supplies are mailed to us. I think Barry ended up with an extra shipment so we had two open boxes plus a sealed box stored under the desk. I hauled them out and put them on a table and photographed the two open ones so I could show you a before shot.

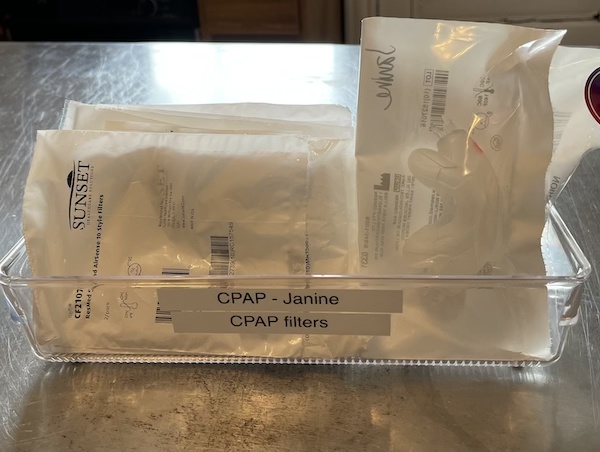
I emptied these boxes plus the unopened one. We each had “nasal cushions” (the part that goes under the nose) in different sizes and Barry also had a replacement headgear and a replacement water tub for his machine. There were also many air filters that fit both our machines. Barry had the lion’s share of supplies and his went into its own bin (a shoe box from the Container Store). My two measly cushions and all the air filters fit into one nine-inch shallow Linus drawer organizer.
I put labels on both containers and photographed them for you (the first picture is Barry’s container).
Then I stacked them and put them back under the desk!
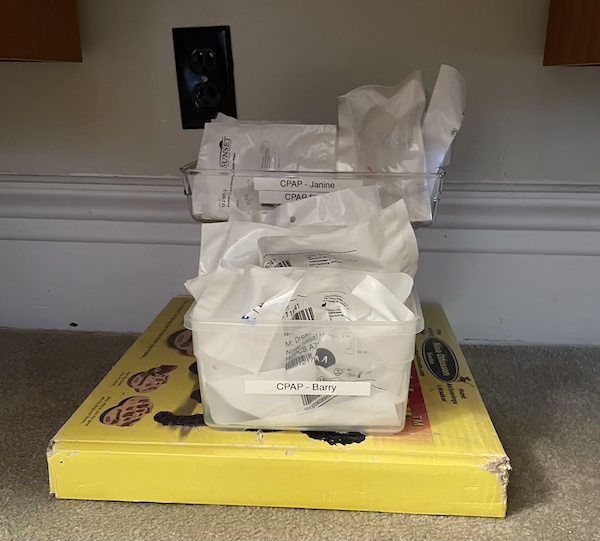
I wanted to find a better spot for them, but since everything in them is sealed and they’re off the floor (because I put them on Bix’s interactive dog toy), I feel comfortable keeping them there. It’s where we’re used to looking for them. And everything is more accessible than it was.
This tiny project, which took about 25 minutes, is a great example of “good enough” organization. It’s by no means fabulous, but it’s really functional and I did it with containers I had on hand. It feels good.
December tiny projects challenge: Day 1
During the lockdown in 2020, I did three tiny projects challenges and blogged about them. These were small organizing projects I could complete in about 30 minutes or less that I did for five days in a row. It was a great way to keep busy and I loved the results. I realized I didn’t do any in 2021, so I thought I would wrap up the year with another five-day tiny projects challenge. Feel free to join me in on challenging yourself to complete one small organizing project a day!
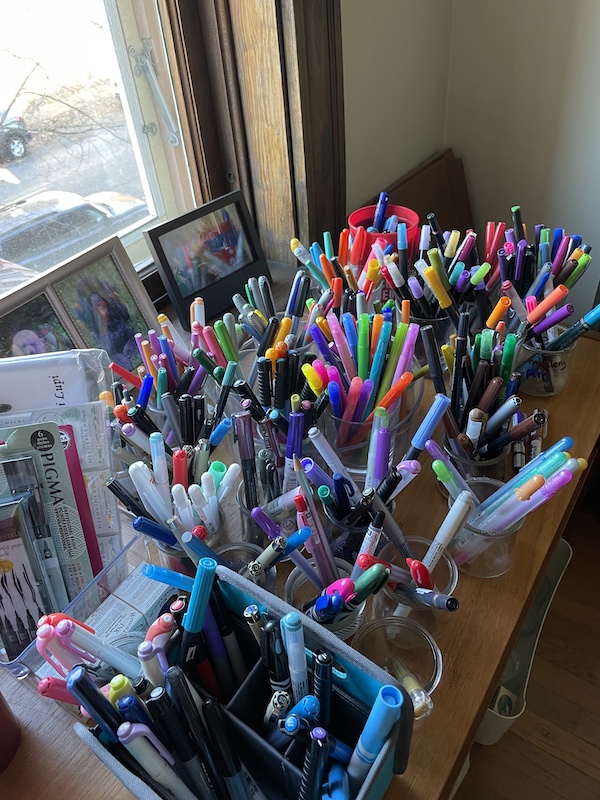
Day 1: Organizing my lettering pens
I love pens. And I love doing hand lettering. The combination of those two loves has led to quite a collection. I primarily do my lettering in the living room, on a clipboard while watching TV or, if I’m doing something that requires more concentration, at the dining room table. So the bulk of my pens (the ones that aren’t on my office desk) are stored in the living room.
A couple of years ago, I blogged about how I organize my lettering pens. In short, I organized them by type of pen and I used a Linus 9-inch divided turntable to store them, divided between GODIS drinking glasses from IKEA and Yoplait Oui yogurt jars. But my pen collection swiftly outgrew the turntable and the categories got a little squishy.
Here are a couple of before pictures:
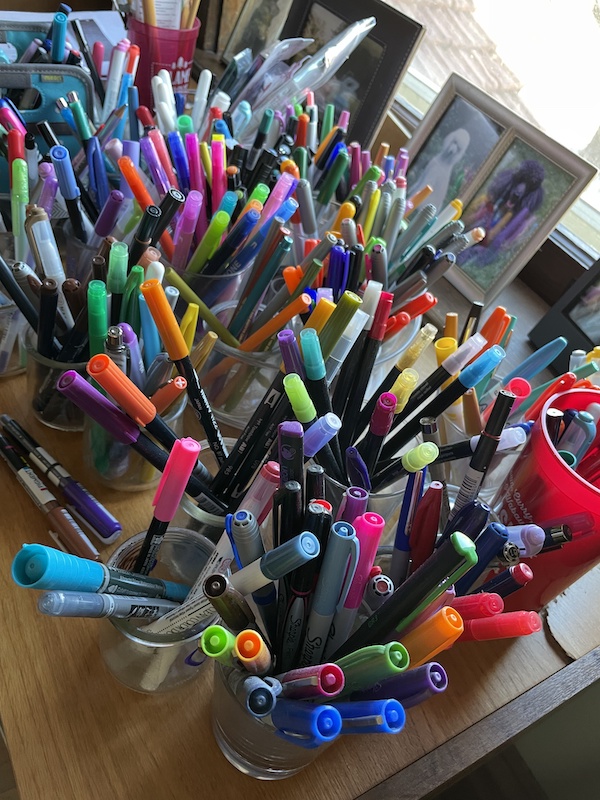
So yesterday I decided to reorganize the pens. Originally, I thought I would just refresh the categories, but then I realized that when I was looking for a pen, I was often looking for a particular color. So on a lark, I decided to organize them by color. I know from clothes closets that organizing by color can be really attractive and beneficial. I figured it was worth a try for my pens, with the reassurance that I could always go back to organizing by type.
It was a simple process. I started by plucking out all the blue pens. There were too many for one container, so I sorted them by hue, with the purplish-blue pens on one end of the spectrum and the greenish-blue pens on the other and the true blue pens in the middle. I put them into three containers and moved on to the next color.
The whole project took just 40 minutes. Here are the after pictures:
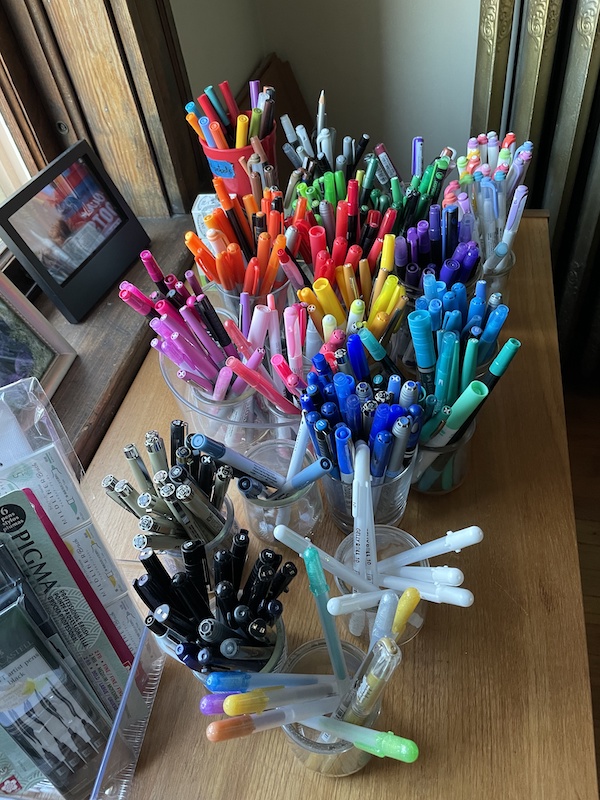

So much prettier! Time will tell how functional organizing by color will be. (I’ll try to remember to report back.) I did keep four types of pen together, in a mix of colors (because function is more important than aesthetics to me): the Mildliner highlighter pens I use all the time, the metallic gen pens I’m currently using to write in holiday cards, some paint pens, and some dual-tipped brush pens that were much taller than the others.
In an effort to keep the session tiny, I did not test all the pens. But that’s an easy project for another day and it will doubtless allow me to trim my collection.
Stay tuned for tomorrow’s tiny project!
About Janine

Hello! I’m Janine Adams — a certified professional organizer based in St. Louis, and the creator of Peace of Mind Organizing®.
I love order, harmony + beauty, but I believe that the way that you feel about yourself and your home is what truly matters.
If you’re ready to declutter with a purpose and add more ease to your life, you’ve found the right blog — and you’ve found the right company.
read more »Links
- Institute for Challenging Disorganization
- Ravelry
- Getting to Good Enough podcast
- National Association of Productivity and Organizing Professionals
- Are you interested in becoming a professional organizer?
- Shannon Wilkinson, life coach
- Peace of Mind Budgeting
- Organize Your Family History
- NAPO St. Louis